

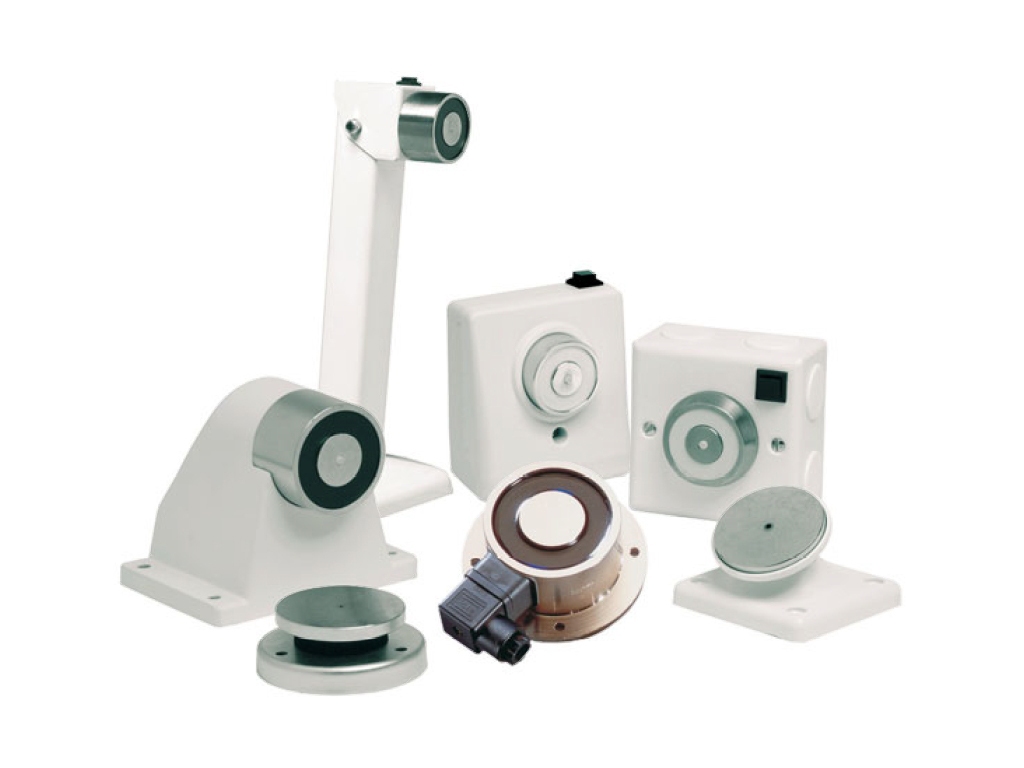
Installing a fire door retainer / holder
Installing a fire door retainer is a crucial step in enhancing fire safety within buildings. Fire door retainers are designed to hold fire doors open during normal operations and automatically release them in the event of a fire, preventing the spread of fire and smoke. In this article, we will provide a step-by-step guide on how to properly install a fire door retainer, ensuring compliance with safety regulations and maximizing the effectiveness of the fire safety system.
Steps to install a fire door retainer
Step 1: Assess the Door and Location
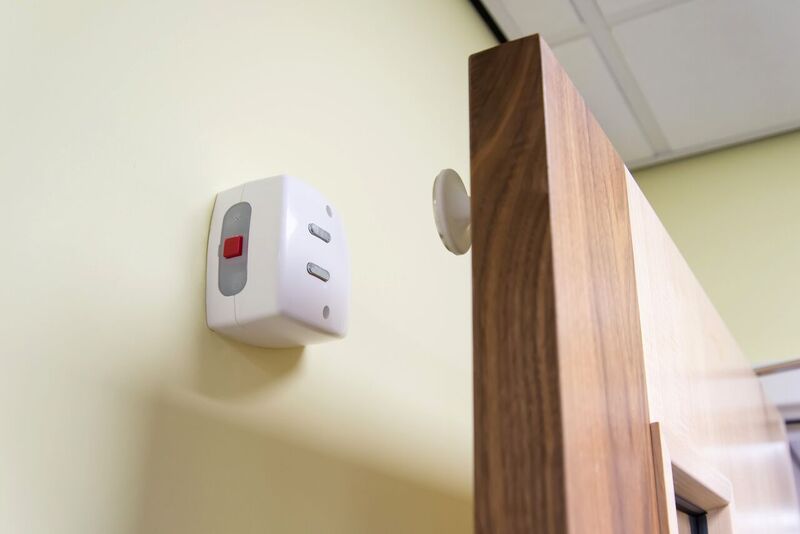
Begin by assessing the door where the fire door retainer will be installed. Ensure that the door is in good condition and meets fire safety regulations. Identify the ideal location for the retainer, considering factors such as ease of access, visibility, and proximity to the fire alarm system or power source.
Step 2: Gather the Necessary Tools and Equipment
Before starting the installation, gather the required tools and equipment. This may include a power drill, screws, screwdriver, spirit level, measuring tape, and appropriate fixings provided by the manufacturer of the fire door retainer.
Step 3: Prepare the Door and Retainer
Clean the surface of the door and remove any obstructions or debris that could interfere with the installation. Carefully unpack the fire door retainer, ensuring all components and instructions are readily available.
Step 4: Position and Mark the Mounting Points
Position the fire door retainer at the chosen location on the door, aligning it properly. Use a pencil or marker to mark the mounting points on the door where the retainer will be fixed. Ensure the retainer is level and properly aligned.
Step 5: Pre-drill Mounting Holes
Using a power drill, carefully pre-drill holes at the marked positions on the door. The size of the drill bit should match the specifications provided by the manufacturer. Take care not to drill too deeply, as this could damage the door or affect its integrity.
Step 6: Attach the Retainer to the Door
Align the fire door retainer with the pre-drilled holes and securely attach it to the door using the provided screws. Use a screwdriver to tighten the screws, ensuring a firm and secure attachment. Double-check the alignment and stability of the retainer.
Step 7: Connect the Wiring (if applicable)
If the fire door retainer requires electrical connection, carefully follow the manufacturer’s instructions to connect the wiring. This typically involves connecting the retainer to the fire alarm system or power source according to the specified wiring diagram.
Step 8: Test the Operation of the Retainer
Once the retainer is securely installed, perform a thorough test to ensure proper operation. Activate the fire alarm system or simulate a power failure to verify that the retainer releases the door promptly and allows it to close effectively. Test multiple times to ensure consistent and reliable performance.
Step 9: Finalize Installation and Documentation
Once the installation is complete and the fire door retainer is functioning correctly, finalize the installation by checking all connections, tightening any loose screws, and cleaning the surrounding area. Document the installation details, including the date, installer’s name, and any specific notes or observations.
Highlights To Remember
Installation is pretty easy and straightforward
read manufacturer’s instructions before attempting installation
The mounting surface, such as the door or wall, should be sturdy and secure
Always use the Recommended hardware durin installation
perform regular inspection and maintenance of retainers
wear appropriate personal protective equipment (PPE) during installation
Related Information

Should a fire alarm be silenced?

Still have unanswered questions?
Our experience in alarm applications expands beyond what we have available online. We’re here to help if we can.